HOW TO MAKE BRAIDED WIGS

A few years back, the only way to rock braids came with a price. A price of sitting down for several long hours and the terrible pain that comes with braiding. And when I say terrible I mean terrible in every sense of the word terrible. I mean neck bending, head aching kind of terrible.
So you can imagine what a relief it was to braid lovers like me when braided wigs became the in thing but having one comes with a heavy price tag. Buying Braided wigs can be really expensive and that is why I have decided to write this post on how to make braided wigs. So my wonderful readers can save their money and still slay.
How to make braided wigs is pretty simple and easy if you already know how to braid but if you do not, I will be adding links to videos where you can watch and learn how to braid.
Materials needed to learn how to make braided wigs.

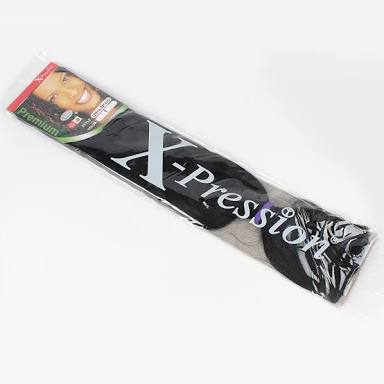
- Hair extensions/attachments: To make braided wigs, you must make use of hair extensions. Well, there will be no “braids” without them. There are several hair extensions all over the world but the hair extensions popular in Nigeria are mainly Xpression and Super Star. They come in different colours and you can choose to use one colour or mix two colours for your braided wigs. You can get these extensions from hair salons around you or online here on Jumia, if you live in Nigeria or here on EBay for foreign readers.
- Wig cap: There are several types of wig caps. We have the normal wig caps, dome caps, net caps and the adjustable strap wig cap. I will advise you to use the adjustable weaving wig cap because it’s more sturdy and fittings can be adjusted. However, dome caps are very popular and can be used as well. You can get your wig caps from hair salons around you or online here. If you will love to have me do a post on the different types of wig caps and their advantages and disadvantages, leave a comment down below.
-
Needle and thread or latch hook: You can either use a needle and thread to make your braided wigs or a latch hook which is popularly known as crochet pin. For this post, however, we will be making use of the latch hook method. This method is perfect with a weaving adjustable wig cap, as it has holes that you can pass the crochet pin through.
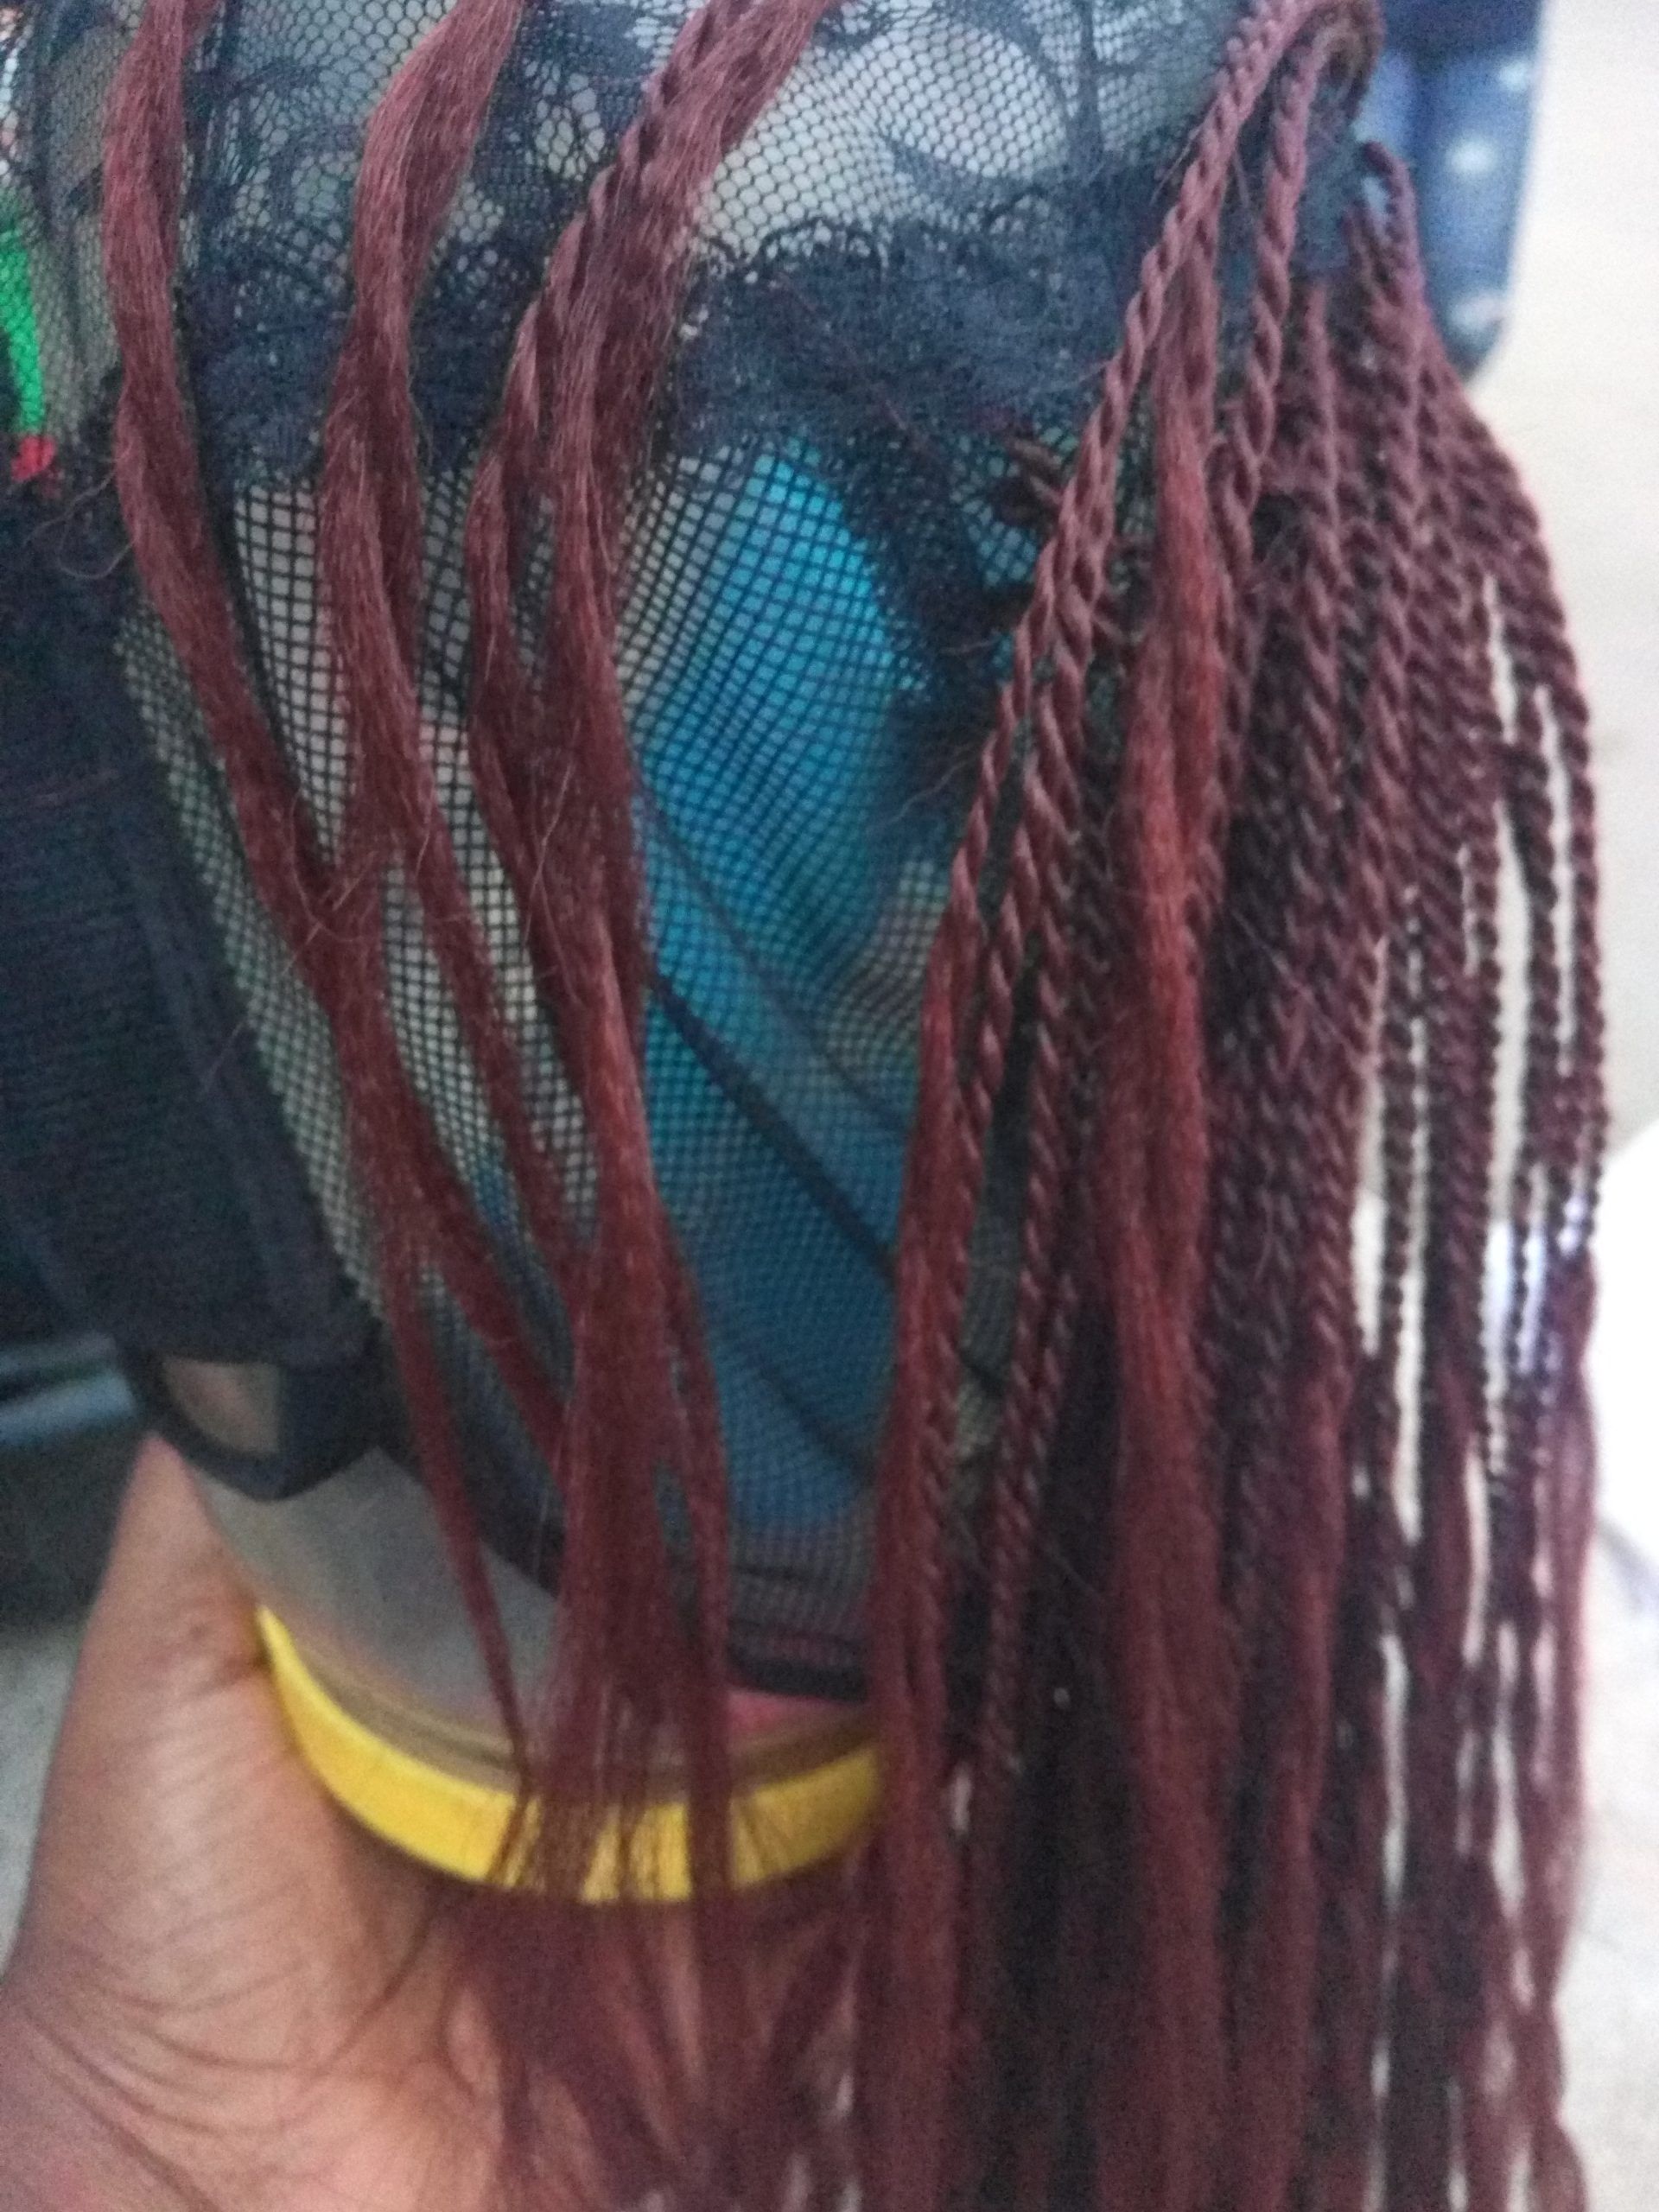
- A Mannequin, Styrofoam or round container: A mannequin head is necessary when making braided wigs. As it helps give it shape but if you do not have one, don’t fret. You can make so with a round shape basket or container. Just like this one in this photo.

Using a round container to hold the wig cap
- Lace closure: This is optional but it makes a difference when used. Gives your wigs a better finish. Already made Closures are really expensive though. But you can DIY yours for less than N500 using a lace material. If you want me to do a post on it, please leave a comment below.
- Scissors: For cutting and trimming
-
Hair comb and hair cream
- Steaming hot water to make the attachment appear smooth and lightweight. This is the last procedure. So don’t bother about it until you are done making and trimming your braided wigs.
Simple procedures to make your own braided wigs.
Prepare your attachments
First, start by combing and detangling the attachments. You can do this by stretching the edges and then comb afterwards or you can simply use my fast method. Simple hold the attachment securely an inch away from the tip, then use a three-tooth comb to comb the hair in a face-paced way while ensuring you are holding on to the attachment securely. This will give the same finish as the normal stretching you see your hairdressers do. Next, cream your attachments and set aside.
Wig making the crochet braid way
Cut your desired size of attachment and start braiding on a string or rope, so you can have the loop to use and pass through your crochet pin. This method is easy and advice able for those who are not pro braiders. Simply braid on a rope, trim and then crochet into your wig. To crochet, pass your pin through the wig cap, fix the braided hair loop, close the latch and then pull. Don’t forget to pass the tail end of the braid through the loop to ensure the hair is properly secured.
Wig making the normal way

Cut out your desired attachment size and then pass the crochet pin through the wig cap. Place your attachment on the pin and close the latch hook. Pull through the wig cap, tie to secure and then start to braid. Repeat the following steps until the wig is completed.
There’s no much difference between the first and the second method. The only difference is that one is braided outside the wig and then attached while the other is attached and then braided on the wig.
I strongly advise that you use the crochet style way if this is your first time learning how to make braided wigs.
Finishing touches

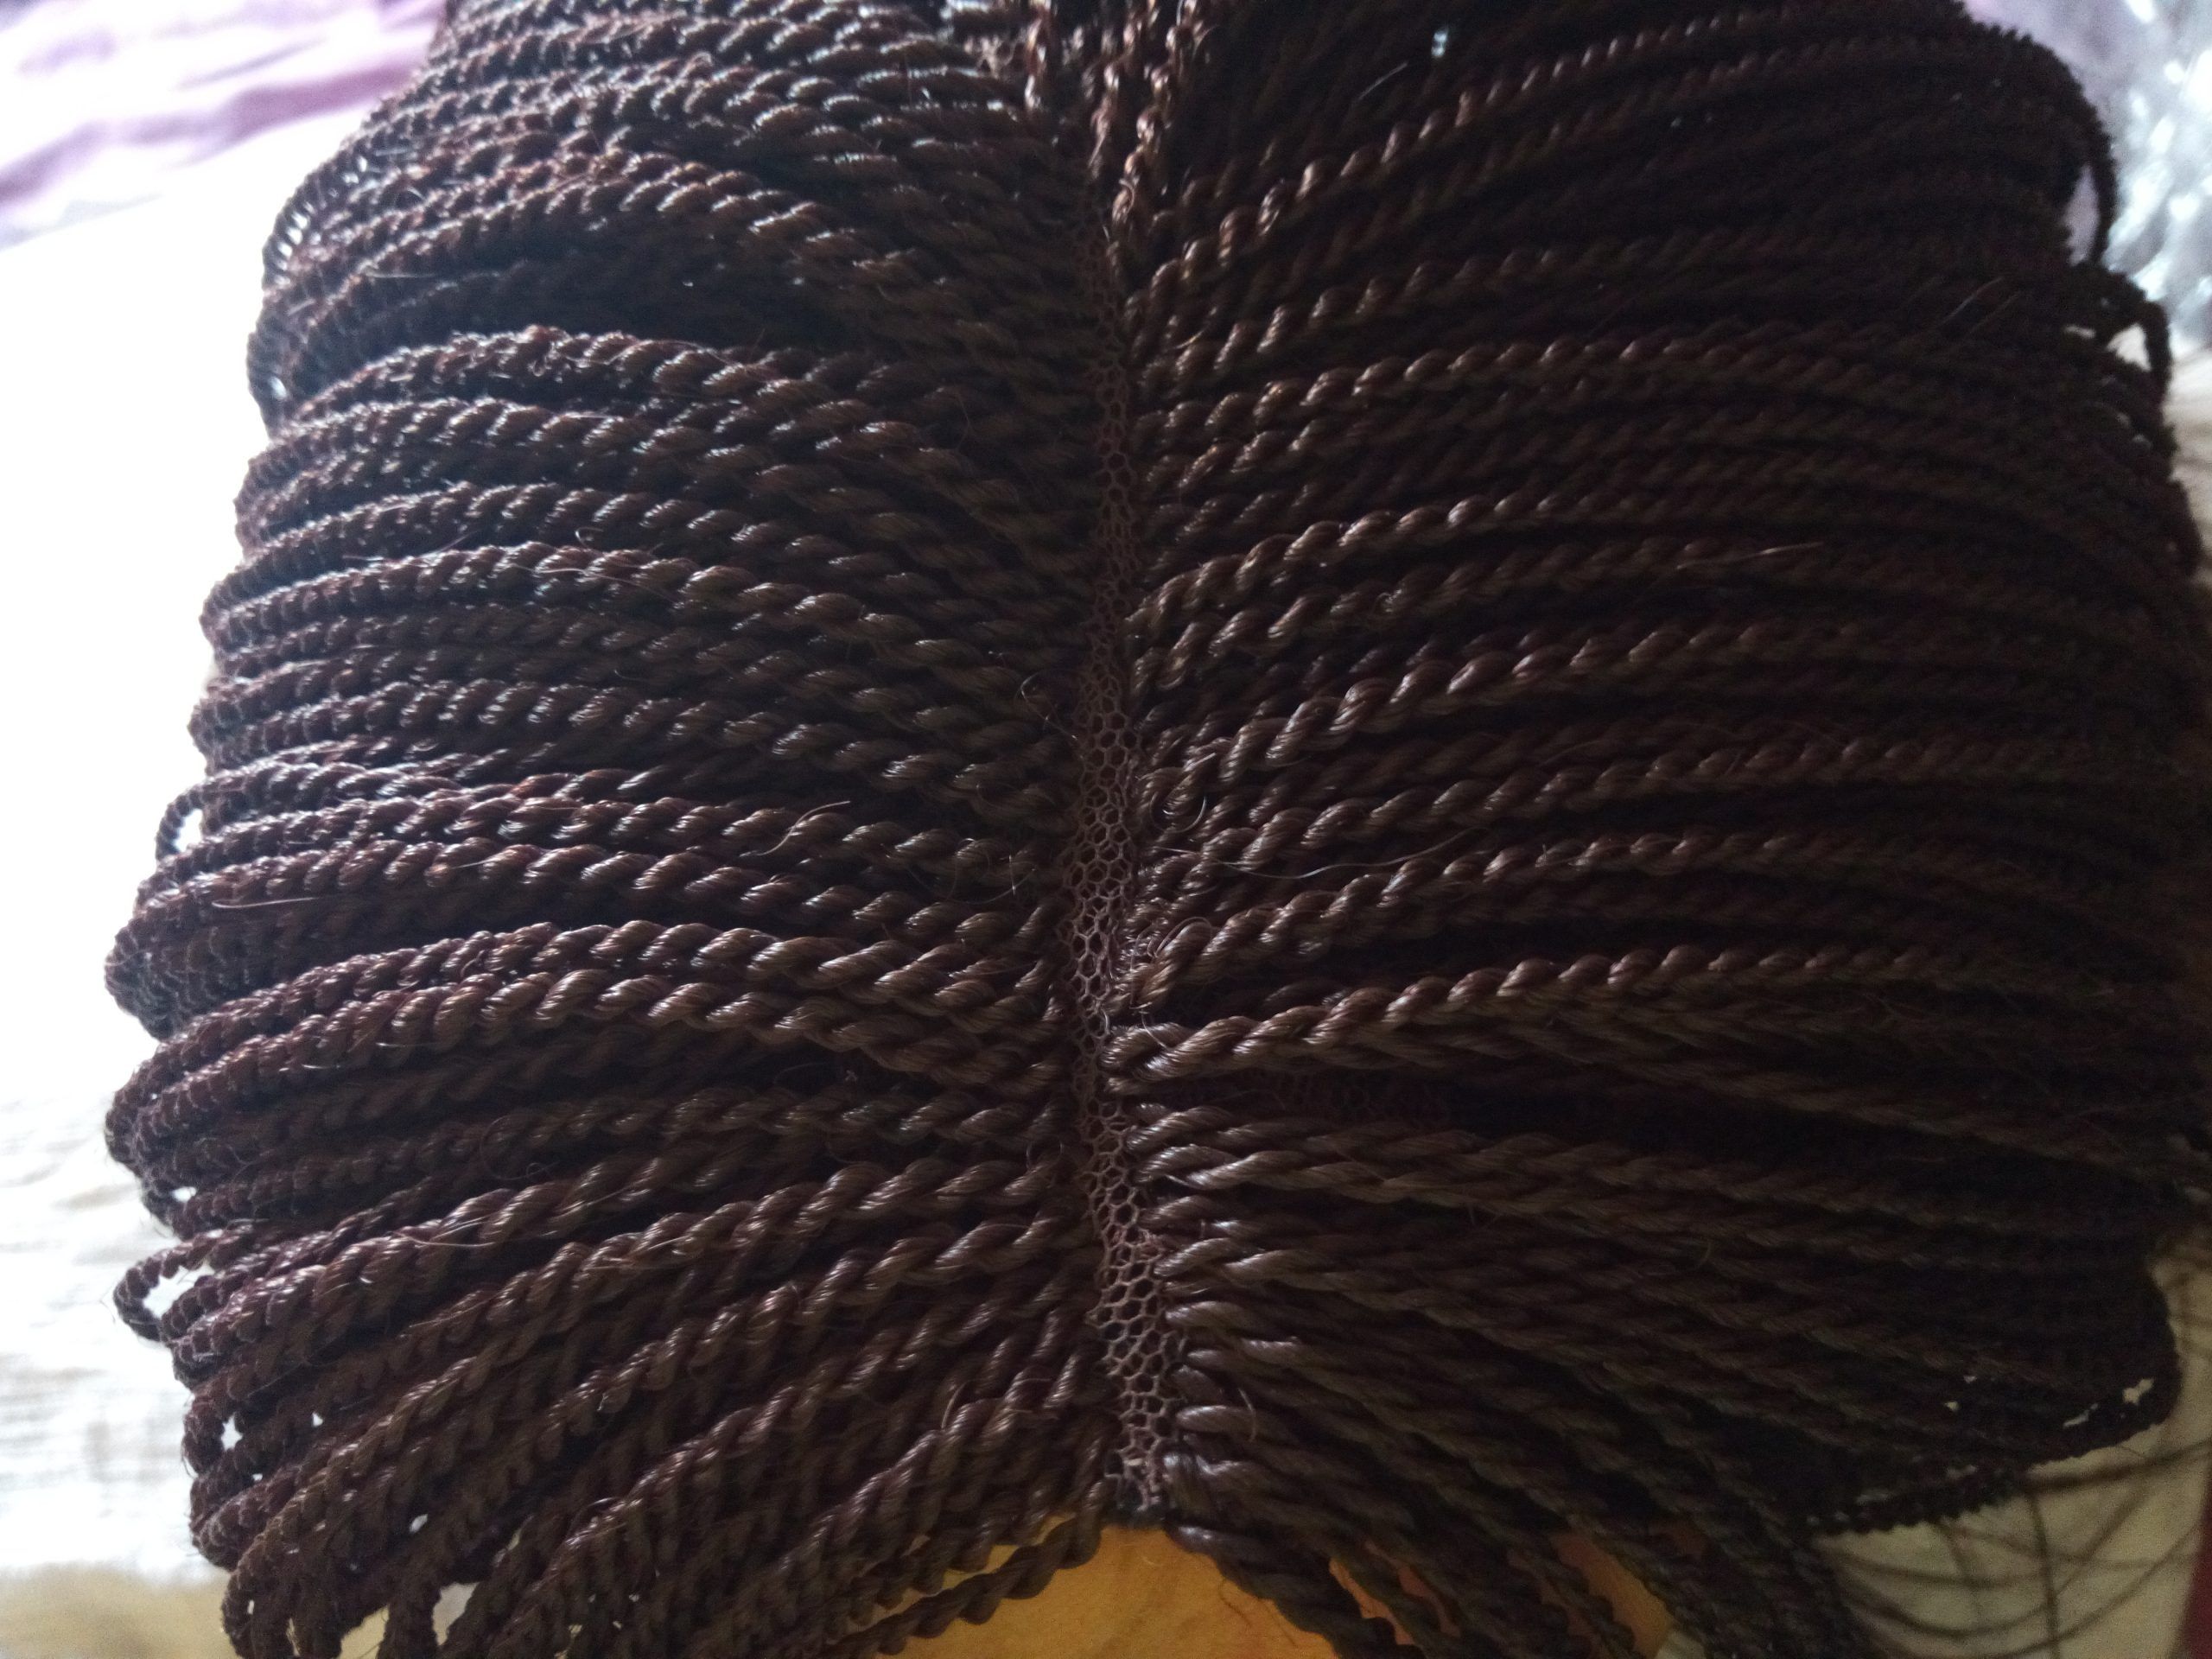
Center parting with lace closure
After making your braided wig, the next time is to trim off the excesses. Use a pair of scissors to trim or if you are looking for a faster alternative, make use of a lighter or candle but be careful less you burn your braided wig.
After trimming, deep hair in steaming hot water and leave to dry. Cut off the excesses at the tip and spray your braids with. Leave in conditioner and setting spray.
Voila, your braided wig is ready for you to rock and roll as much as you want..

However, remember to keep and care for your braided wigs well. Always hang it out to avoid the tips from curling or looking unkempt. If you want to see more tips on how I care/keep my braided wigs looking beautiful, click to read.


If you made use of a lace closure, apply your face foundation to conceal it and make it appear more natural.

If you are looking for an affordable foundation to use for it, then read about this foundation here.
Styling your braided wig

You can style your wig in several ways Eg buns, side parting, center parting etc. The best way is to play around with it and find out what works best for your face.
As promised I will be adding a video for those who prefer to watch and learn.
You can order for your custom well made and affordable braided wigs. and they come with treatments to make your wigs last longer. We offer worldwide delivery and you can leave a comment to place an order.
Here are some reasons why you should invest in braided wigs.
- They are durable
- They protect your hair
- Stress and pain-free
- Can be worn to any event at any time
To subscribe to receive notifications from me straight to your inbox and don’t forget to follow me on social media.
A beautiful hair is the crown of every woman!.
What are your thoughts on this post, do let me know in the comment section.

? u make it sound sooo easy, im eager to try it out!
heads up, i’ll be disturbing u when i start o..
thanks 4 sharing babe
Nice one, I got inspired
Nice hand work
Hi Gift, this is my first time here and I appreciate what you’re doing. I’m really a novice here but I’m willing & ready to learn. Can you do a video of how to braid on a string or rope. It will be very helpful. Thanks in anticipation of your response.👍